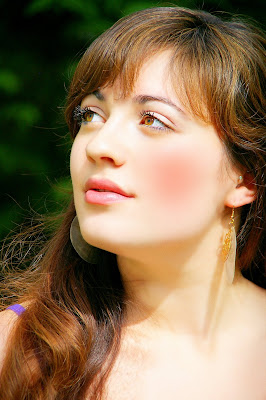
This time we will be fokusing on the eyes. On a portrait they are always the eyecatcher hence we should deal carefully with them and try to get the best out of them. Since we already created the appropriate layers we just have got to apply some filters color corrections and set the proper layer mode. At the end we will be applying some extra sharpening to the edges and add some general color adjustments.
This is what we got for now:
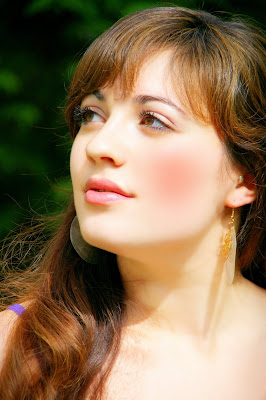
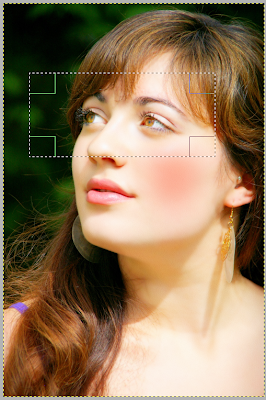
Set the layer mode of "Eyes #1" and "Eyes #2" to screen and you will see that the eyes will get brightened as hell. It is a bit to much but first we want to sharpen the eyes a bit. To do that we make a selection around the eyes so that we dont have got to wait that long for the filters to be applied:
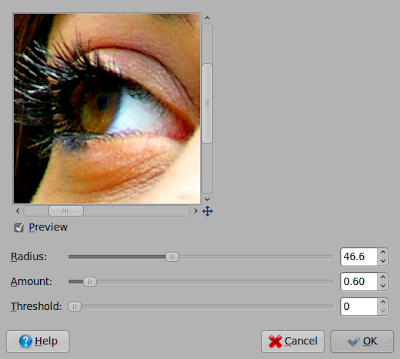
Now we apply th following filter to "Eyes #1": "Filters" -> "Enhance" -> "Unsharp Mask" with the following settings:
Select the other eyes-layer and apply this "Unsharp Mask":
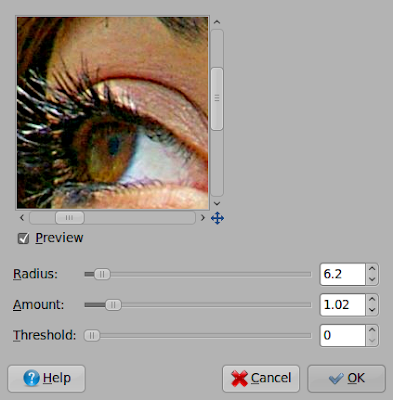
You can leave the opacity of the "Eyes #1" layer as it is and decrease the other eye layer's to about 50%-60%. It is a matter of taste and you should try it out on your own. So we are finished with the eyes. Again: this is the very basic stuff you can do. There are A LOT of further possibilities to tweak a face even further! Maybe I will pick up some special aspects in later articles.
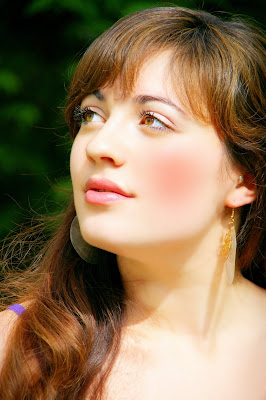
This is what we got so far:
Now we right click on the top layer and select "New from visible". Now clear our selection and duplicate this new layer and invert its colors. Apply to both layers the following filter "Filters" -> "Edge-Detect" -> "Neon":
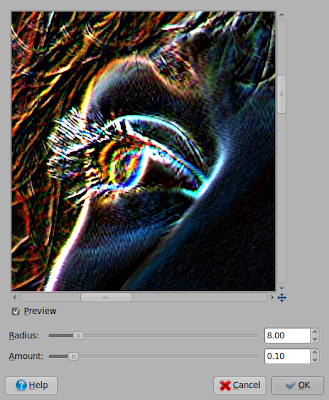
Now set the top layer's mode to "Addition" and again rightclick on the top layer and select "New from Visible" and then delete the two layers we used to create the third one. Desaturate this new layer (lightness) and blur it with the Gaussian Blur Filter with radius of 25px. What we have now should look like something like this:
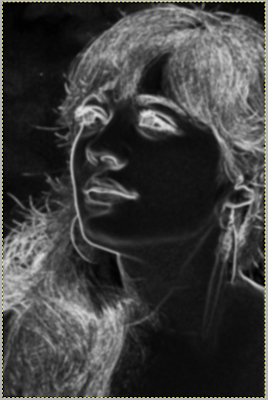
Make this layer invisible and again create a new layer from visible. We now want to sharpen this layer and apply our blured layer that is invisible as layer mask. First we use the Unsharp Mask as follows:
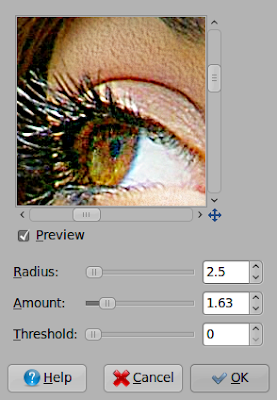
Now add a layer mask to this layer and copy the b-w layer that contains the edges into the layermask via first right klicking onto the sharpened layer and selecting "Add Layer Mask" and clicking add second selecting our blurred edge layer and pressing "Ctrl" + "A", "Ctrl" + "C" selecting the layermask and pressing "Ctrl" + "V" third rightclicking onto the floating selection and choosing "Anchor Layer". You can adjust the amount of sharpening with the opacity of the layer that contains the sharpened image. If you want you can now create another layer that contains the whole image and apply some color corrections. But I am rather satisfied with my example image. So I will skip this step.
For now we are finished with our little workthrough in photo retouching. I will be covering some special parts in later tutorials. So stay tuned!
0 Comments:
Post a Comment