You might have seen them on some music covers or concert posters. Often they have got a very grungy and dirty background that looks soooo cool. Often you can't distinguish the different parts of the images because they are somehow composed together very good and only by looking at it very closely you see the components of the background. I will try to show you some techniques how to achieve an effect like that:
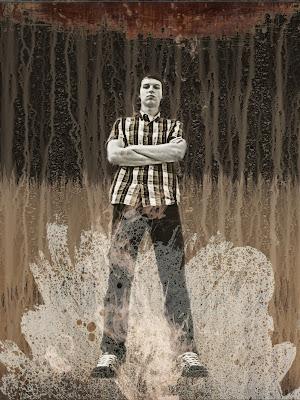
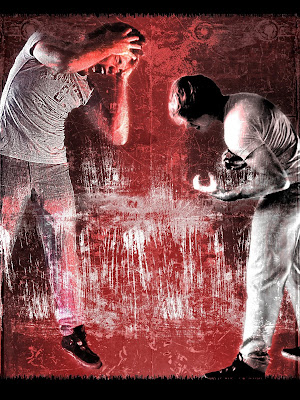
Therefore we need some material to start with since we won't start from scratch. You can find a very huge amount of photos on
CGtextures.com. I picked the following ones as an example. I recommend you to always download the biggest format available but in this guide I used the medium sizes to be able to get some more material since it isn't for print anyway. The free 15MB/day are more than enough to start with. So these are the pics I chose from CGTexures.com: (again these are not my photos and copyright is at their website.)
mat1mat2mat3(image1)mat4(large)mat5(large)mat6(large)mat7Now we can open up a blank image at the size of 1200x1600 and open our whole material as layers via "File" -> "Open As Layers". In this dialog you should be able to select more than one image and they will be loaded at once one after another. Now make all layers invisible except the one you want to have as the background layer. Move this one to the bottom and duplicate it:
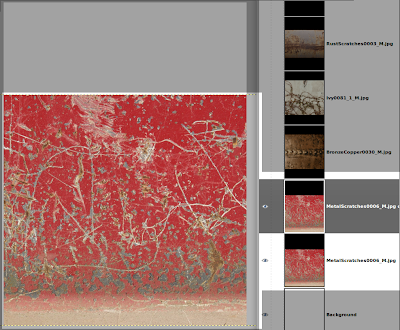
Move one of the two upwards until its top edge touches the upper edge of the image. But this looks rather crappy because the lower part of the moved up layer creates a very hard edge. So wee need a layermask to hide this part of the layer. But first duplicate the upper layer again and make the duplicate invisible. We will be needing this one later on. Now create the layermask and select the gradient tool. Choose the colors black and white and apply a linear gradient to the layermask that it looks as follows:
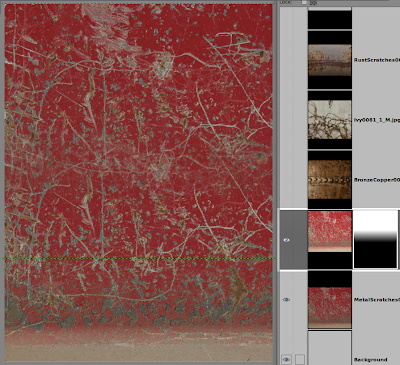
But still the blending does not look really good. Now we need our invisible and duplicated layer. Make it visible, desaturate it(Luminosity) and boost the contrast a bit, that the scratches get out even clearer.
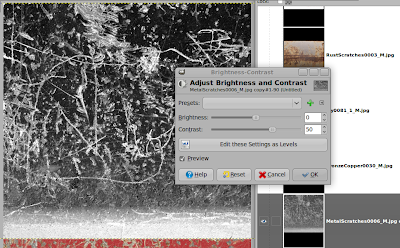
Select the gradient tool, set its mode to Multiply and apply a cradient that the layer looks as follows:
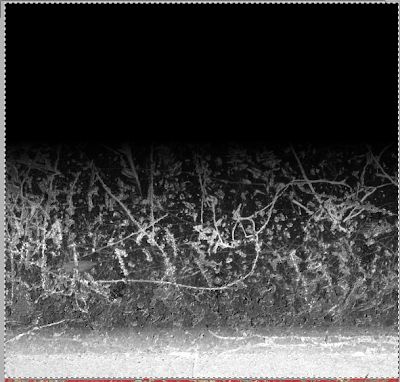
Press "Ctrl" + "A", "Ctrl" + "C", select the layer mask and hit "Ctrl" + "V" and set the "Floating Selections" mode to "Substract". Now you can anchor the Floating Selection via rightclicking on it and selecting the entry. When you look at the layermask you see that the gradient now also contains some scratches from the layer and the blending doesn't look that smooth anymore. You can delete the greyscale layer if you want but you dont have to. Just make it invisible. Make sure that only the background is visible and create a new layer containing this background via rightclicking and selecting "New from visible". Now rename this layer to background and make all the others invisible.
Lets move on to the next component. Select the layer that contains the splatter, rotate it 90 degrees and size it up proportionally until the width is about 850px. Apply a layermask with the greyscale copy of the layer and invert the layermask:
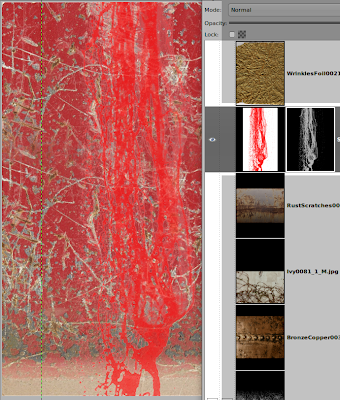
Use the curves tool on the layermask to tweak the mask your needs. Now select as layer mode "Multiply" and use the "Hue-Saturation" dialog to lower the saturation a bit and the lightness pretty much until you can clearly see the splatter.
For now we can put in the next part and you should select the "RustScratches0003..." layer and move it above our splatter if it isn't yet. Again we should use basicly the same method to blend the layer into the rest of the image. We create a layermask that contains the greyscaleversion of the layer, invert is and tweak its tones. But this layer has got the bad property that the lower part of the layer has got the same value as the scratches. this might lead to the following result:
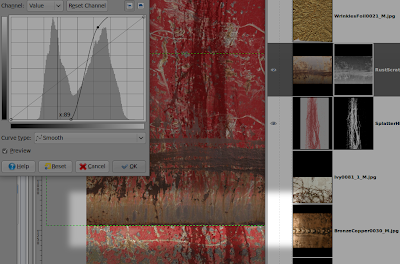
But there are basicly two methods to get rid of this problem. First: manual work -> sucks. Second: Flipping the layer vertically and moving this edge to the top of the image, or above -> rules:
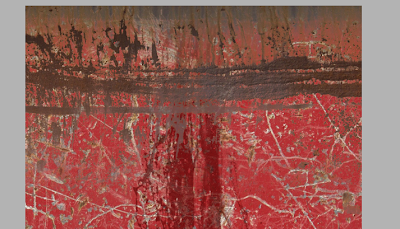
I think you got the basics now. What we need to do now that we assembled the parts together we need to somehow forge them to one whole piece sind the different parts not really fit to each other. This can be achieved by applying some color corrections to the layers, rearanging the layers, duplicating them and playing with the different mixing modes.
This is what I got after some playing around:
 Here
you can download the *.xcf file.


