Most people tend to make to much use of this tool.
For the sake of demonstration we will be using the following image. It provides a nice contrast and is slightly unsharp.
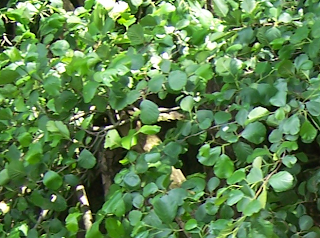
Instead of applying the effect once we will be using it three times. So please create three duplicates of the base layer. Make the top two layers invisible and apply 'Unsharp Mask' to the second layer from bottom:
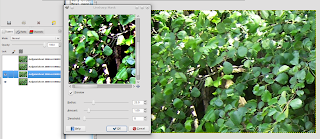
Don't be scared about the rather hight value of the 'Amount' slider. We will be reducing this otherwise later.
No let's proceed with the next layer. We apply the same effect just with some reduced Radius:
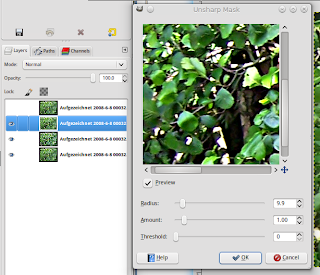
The top Layer should get the same effect with only a radius of at most 2 pixels. But this massively depends on your overall image-size.
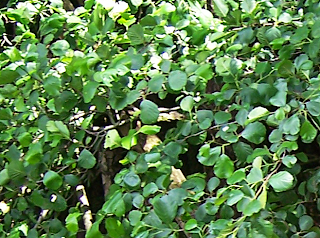
The last step is to blend all layers into the original by settings their 'Opacity' to about 30% each. But you should fiddle around a bit with these settings until you somehow found a good mixture. CG is much about trial'n'error while learning.
Result:
This was just one short entry to somehow push you into a new direction. What you should alwas remember that one effect alone will never ever produce any good result. It is always the combination and the choice of effects that matters. Not so much intensity or complexity of one single effect. Complexity is achieved by adding several single and simple effect and the interaction of theses effects is what blows your mind .
0 Comments:
Post a Comment